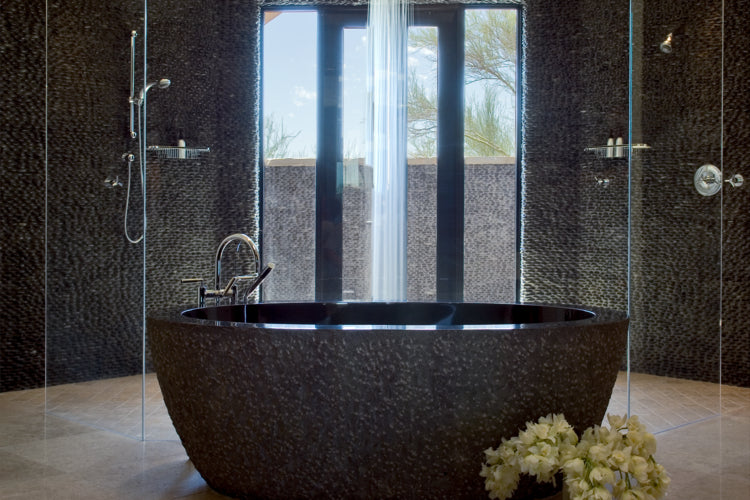
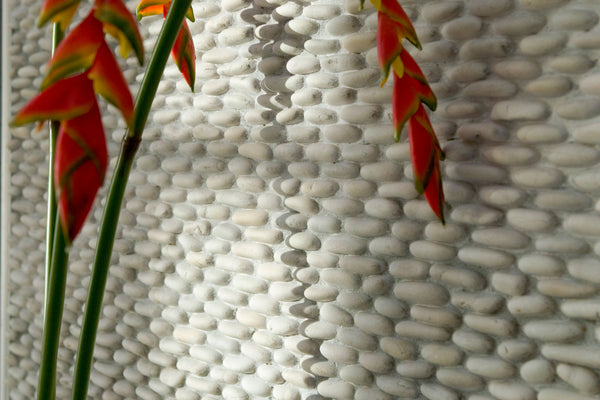
With the Stacked Pebble, Island Stone has taken the Pebble tile in an exciting new direction by using the side edge of the pebble as the feature profile. The new and exciting take on “pebble on mesh” offers a way to make your space stand out from the crowd. With their uniform horizontal lines and varying pebble heights, our Stacked Pebble tiles create a unique, stylish contemporary look.
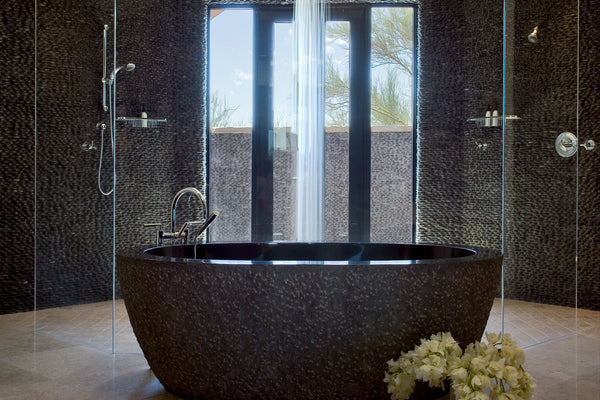
Island stone stacked pebble tile has been manufactured to give maximum stone exposure to tile adhesive on installation. The product is suitable for feature walls, water features, pools etc. The installation is relatively straightforward and with proper care, you’ll see your pebble installation last for years to come.
A few technical details about stacked pebble:
- Tile size: 300 x 150 mm
- Stone depth: 15 – 25mm
- Weight: 30kgs sq m Dry Grouted app 35kgs sq m
Installation Guideline

Substrate preparation
In order to achieve good adhesive bond, be sure to identify any surface contaminants that may be present and remove. Island Stone Stacked pebble is app 35kgs per sq m installed and in some instances may require structural angle support depending on the height of structure total weight loading etc, discuss with engineer.
Primer
Synthetic resin based waterproofing in water dispersion.
Waterproofing
As required for interior or exterior applications.
Adhesive
Use a tile adhesive with no vertical slump.
Grout
Island stone recommends silica sand and cement with a grout additive for flexibility and improved adhesion. We’ve found that natural grey colour gives the best results.
Grout Coverage
Apply approximately 4 kilograms of silica sand and cement per square meter.

Installing the Stone
- Tiles should be brick stacked to give maximum effect
- Ensure pebbles lines run even and parallel by marking the substrate or running a chalk line every 300mm
- Press tile firmly into tile set by hand and then with rubber backed grouting tool ensuring full contact adhesive and that the pebble is vertical to the substrate.
Pre Grout Sealing
To ensure the best possible installation an appropriate penetrating sealer should be applied as a grout release prior to grouting.
Grouting
First, apply silica sand and cement grout with rubber backed grouting tool
- Allow grout to dry to a granulated stage.
- Brush grout out to required depth with a firm bristled broom or brush (Note: bristle firmness will be determined by grout setting time.)
- Final brushing with a soft broom and water if required.
- Remove cement film after setting with firm brush or chemical grout film remover.
Final Sealing (if required)
- Penetrating stone sealer. Ensuring compatibility with the pre grout sealer.
- Stone enhancement sealer. Ensuring compatibility with pre grout sealer
Following these instructions should ensure that you have a correct and high quality installation process. Feel free to contact our natural stone experts if you have any questions. We’re more than happy to help!
